Instructions
Step #1 - Dice up your onion, bell pepper and garlic and set aside.
Step #2 - Combine Paprika, Cumin, Chili Powder and Cayenne to make seasoning
Step #3 - Heat a large skillet on medium heat. Add 1 tablespoon of butter to pan and let melt. Add a splash of olive oil.
Step #4 - While pan is getting hot. Preheat the oven to 300 degrees
Step #5 - Add diced onions and red peppers
Step #6 - Cook Red Peppers and Onions for about 5 minutes, until the onions are translucent.
Step #7 - Add Garlic to skillet and cook one additional minute, then add seasoning mixture, stirring to coat vegetables.
Step #8 - Deglaze the pan with a splash of red wine. Allow alcohol to cook off and wine to reduce for a few minutes.
Step #9 - Add can of crushed tomatoes and can of fire roasted tomatoes. Bring mixture to a simmer and allow to cook for 5 minutes.
Step #10 - Turn off the heat. With a spatula, create a well in the sauce and place one raw pheasant breast in each well.
Step #11 - Completely cover the pheasant breast with the tomatoes sauce, place a lid on your skillet and then place in the oven for 20 minutes.
Step #12 - Remove from oven and check temperature of the pheasant breast. It should be around 165 degrees. If its not, place back in the oven for a few minutes.
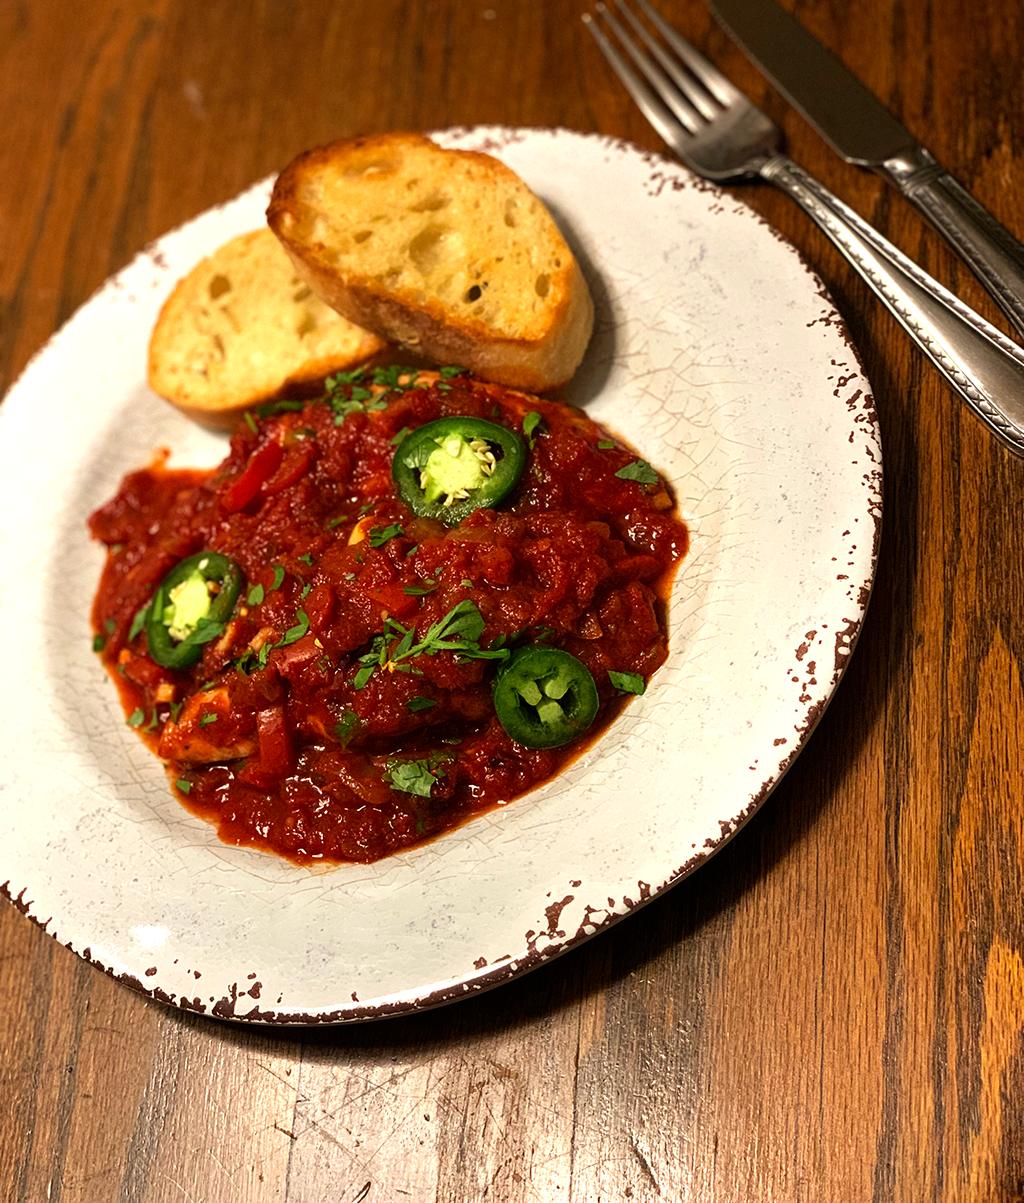
Step #13 - Add sliced jalapenos and chopped parsley to garnish your dish.
Step #14 - This is best served with crusty white bread or white rice.
Crusty White Breed
Step #16 - First make a sponge by stirring together 1/2 cup of All-purpose flour, 1/2 cup of warm water, 1/2 tbsp of honey and a packet of active dry yeast in a large bowl. Make sure your water isn't over 100 degrees Fahrenheit. Once it's all incorporated, cover with warm towel and set aside for 30 minutes in a warm place.
Step #17 - After 30 minutes, you should have something the resembles a white sticky sponge in the bottom of your bowl. To that add 4 cups of flour, salt and 12 oz of warm water ( or one warm beer ) and incorporate all the ingredients together.
Step #18 - Dust your countertop with some flour, then using a rubber spatula, scrape the dough out of the bowl onto the floured surface.
Step #19 - Knead the dough for about 5 minutes. If it's too sticky add some additional flour. To test if it's done, press your finger into the dough, if it's bounces back, it's ready.
Step #20 - Spray another large bowl with cooking oil and place your dough inside the bowl. I like to take a wet towel and microwave it for a few minutes until it's nice and hot, then I'll drape it over top of the bowl. Place the bowl in a warm place and let rise for 2 hours or until the dough has doubled in size.
Step #21 - Dust your counter top again with more flour. Dump the dough onto the floured surface and form the dough into a loaf shape. You can also divide the dough in half and make two small loaves if you like, but you'll need to adjust your cooking time. Dust a baking sheet with cornmeal and place your newly formed loaf on the sheet. Dust the top of the loaf with additional flour. Cover with a towel and let rise for 30-40 minutes.
Step #22 - Preheat the oven to 450 degrees
Step #23 - Once the oven is done preheating, take an oven proof bowl, I like to use a muffin tin, and fill it with water and place on the lower rack of the oven. The steam from the water will help form a new crust.
Step #24 - Cut on slits across the top of your bread with a sharp knife.
Step #25 - Place in the oven, on the top rack and bake for 30-35 minutes or until the loaf is golden brown.
Step #26 - Transfer to a cooling rack and let sit for 15-20 minutes.