Nashville Hot Quail
Go back to all recipes
Nashville Hot Chicken, it's one of my all-time favorite meals! Although I live in Tennessee and visit Music City regularly to see the Tennessee Titans play, ironically my first exposure to Nashville Hot Chicken wasn't in Nashville, it was in Albuquerque, New Mexico at a placed called the Nexus Brewery. I love it, and boy was it HOT! I think they've added their own little twist to it and call it NM Hot Chicken now. I told my wife then, we've got to figure out how to make this Chicken.
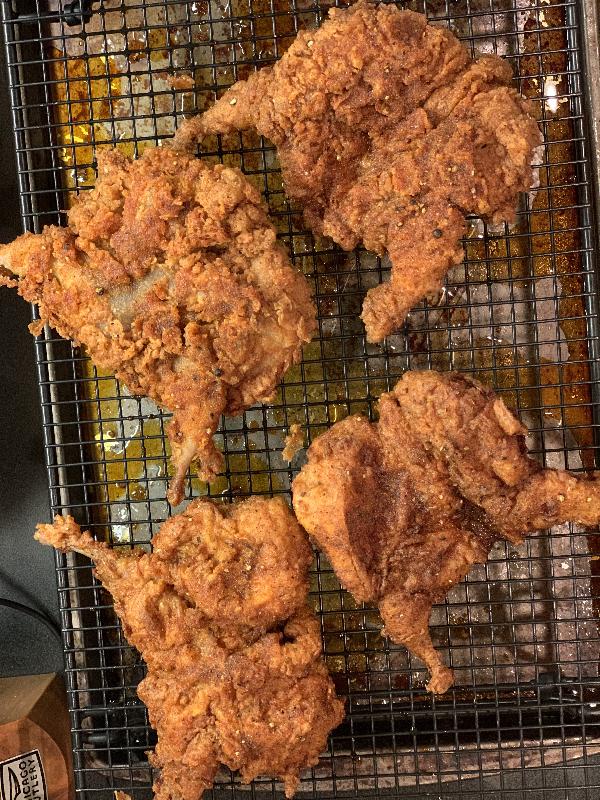
I've only eaten authentic Nashville Hot Chicken in Nashville one time. I've had it plenty of other places and we've made it here at the house several times now. It only seemed logical to take two of my favorite foods and try to combine them. I have to say I was really pleased with the outcome, the wife and I both loved this. The Quail were nice and juicy and HOT, but it did make a crumbly mess, but those crumbs were delicious! We will definitely be making this again in the near future.
To me, Nashville doesn't conjure up images of spicy, hot food ... I think of those places being like New Mexico, Texas and Louisiana. If you're like me, you may be wondering how Nashville got famous for Hot Chicken? Turns out, it's not something new to Nashville, in fact, it's been around since the 1930's. Andre Prince Jeffries and her family are credited as the creators of Hot Chicken in Nashville. According to Jeffries, her great-uncle was a womanizer and one morning his girlfriend cooked him fried chicken for breakfast with some extra, spicy peppers as revenge. However, he liked it so much, he recreated the recipe, with the help of his brother, then together they opened their own business selling Hot Chicken.
The Nashville Hot Chicken I've had in restaurants typically come served on a piece of white bread with pickles on top of the chicken, I've tried to recreate that here. The problem with whole Quail is, they can't be cut up into pieces like Chicken, and because they have round bodies they dont lay flat on a piece of bread. In order to fix that, you'll need to spatchcock your birds. This will allow the birds to lay flat on the piece of bread and it helps with the frying process. To spatchcock your birds, simply cut out the backbone with a pair of sharp scissors or kitchen shears, set the birds down on a cutting board, breast side up, then press down on the bird until the breastbone cracks. If you're using store bought Quail, they may come like this already. Also keep in mind that Quail have little bones in them, so be careful eating them. You could try to debone your Quail, but that seems like such a hassle, but if you're interested, I'm sure you can find instructions on the internet.
Hope you enjoy this recipe as much as I enjoyed making it.
Ingredients
Nashville Hot Quail
Buttermilk Brine
Nashville Hot Spice Mix
Dry Dredge
Wet Dredge
Hot Oil Glaze
Chipotle and Chile Mac and Cheese
Instructions

Step #1 Let's start with brining our Quail. We'll make a simple Buttermilk Brine by combining Buttermilk, Salt, Cayenne and Hot Sauce ( that's optional ) in a bowl and whisk thoroughly. Place your 4 Quail in a one gallon Zip Lock bag and pour the buttermilk mixture over top of them. Press out all the air out in the bag, seal and place in the fridge for one to two hours.
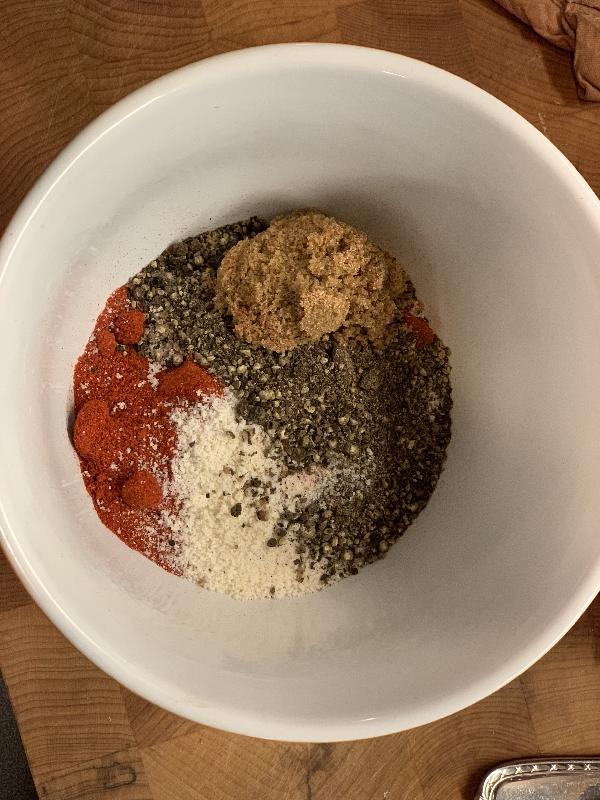
Step #2 While the Quail are brining you can prepare the Nashville Hot Spice mixture. Combine Cayenne, Garlic Powder, Paprika, Onion Salt, Dark Brown Sugar and Black Pepper. Mix thoroughly to insure all the spices are nicely combined.
Step #3 If you want to make the Chipotle and Chile Mac and Cheese, a nice time to start that would be now, you'll find the instructions below.
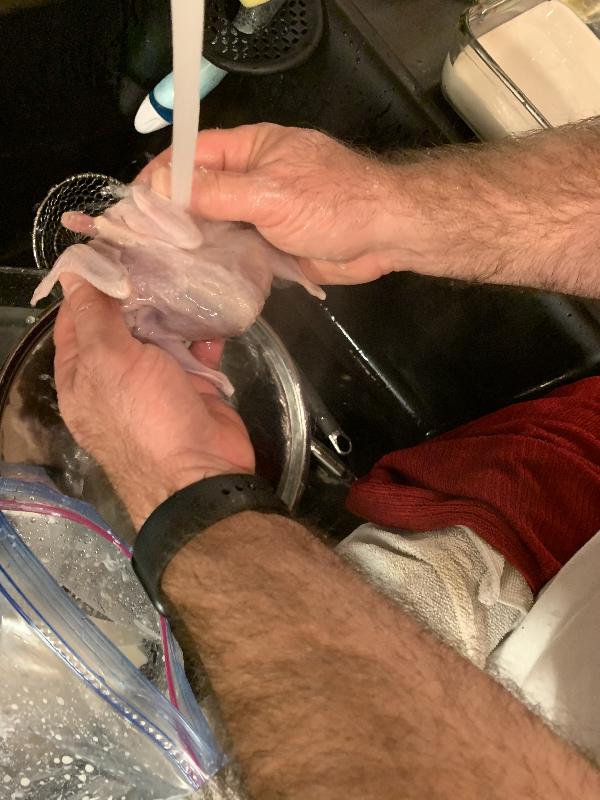
Step #4 Once your Quail are done brining in the refrigerator, remove them from the Zip Lock bag and rinse them off in the sink.
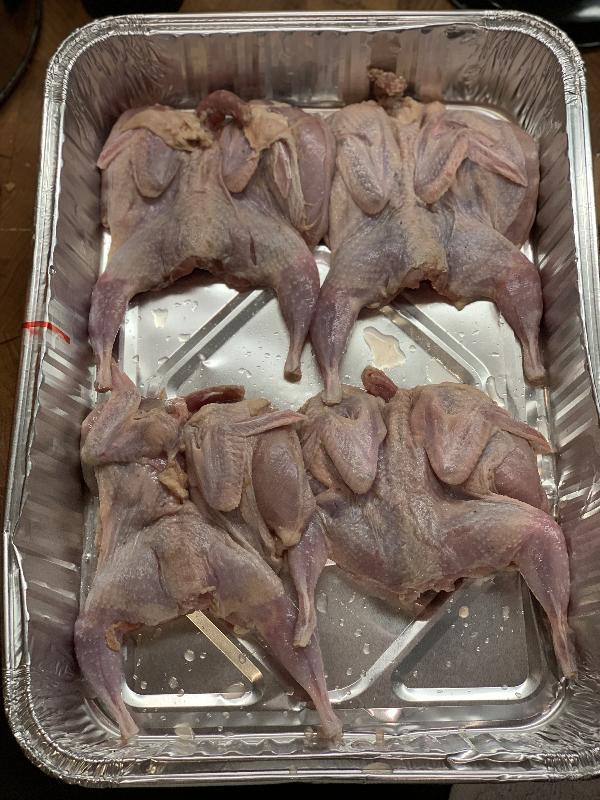
Step #5 Pat them dry with a few paper towels and set aside on a wire rack to dry and reach room temperature.
Step #6 While the Quail are drying, get out a large Dutch oven and fill it with about 3-4 inches of Vegetable Oil. Clip on a candy or deep-frying thermometer. Set the stove burner to medium heat and let the oil reach a temperature of 350 degrees, adjusting the burner as needed.
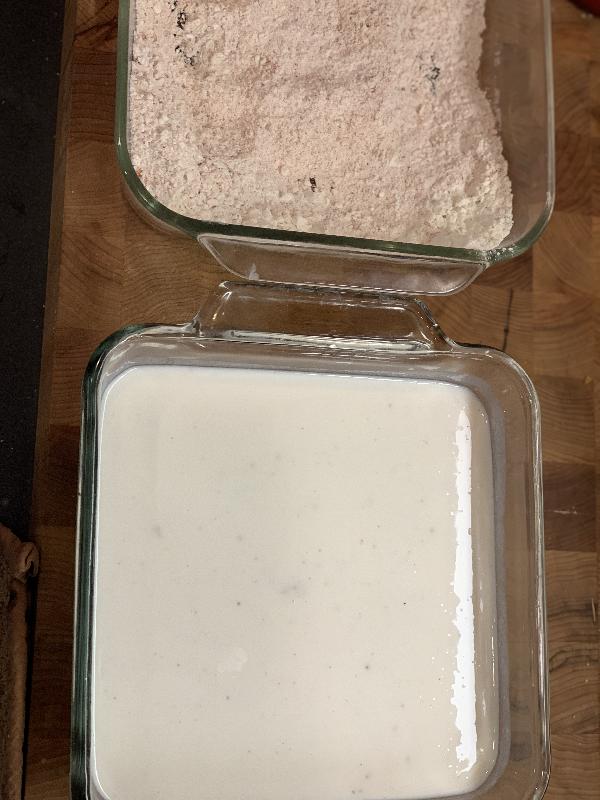
Step #7 While the oil is heating up, you will need to prepare your dredging station. You'll need two shallow dishes or bowls. In one of the bowls, combine 2 cups of All-Purpose Flour with 1/4 cup of the Nashville spice mixture and whisk together. And in the other bowl, combine the Buttermilk, egg, Baking Powder, Baking Soda and hot sauce (optional) and whisk together until bubbles start to form. This is the Baking Powder reacting with the Buttermilk, it'll help give us a light, flaky crust. If you prefer a flatter, denser crust, that isn't as crumbly, leave the baking powder and baking soda out.
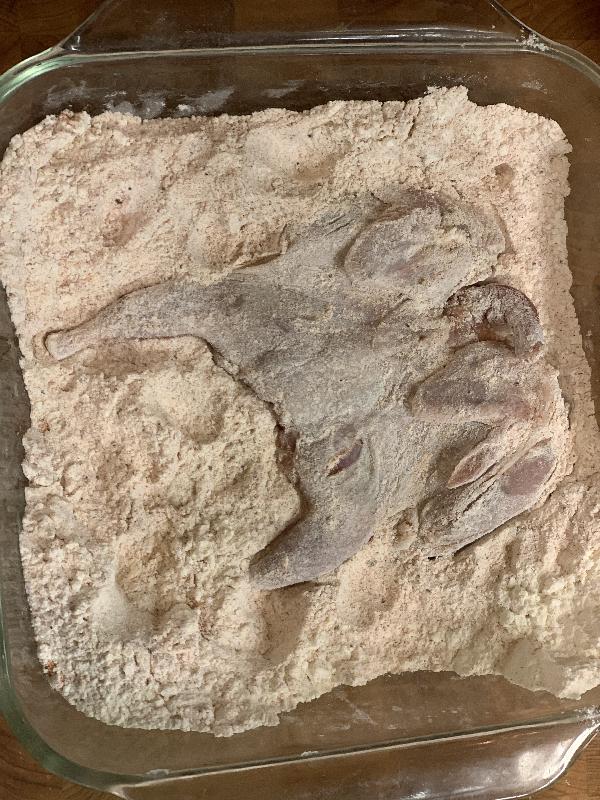
Step #8 You'll want to set the wet mixture and the dry mixture close to the frying station. You will be going Dry, Wet, Dry. The first dry mixture helps the Buttermilk adhere, Take your dry Quail, dip into the dry mixture, making sure to cover the bird and all its creases, shake off excess. Then submerge the Quail in the Buttermilk mixture. Then back to the dry mixture. From there...
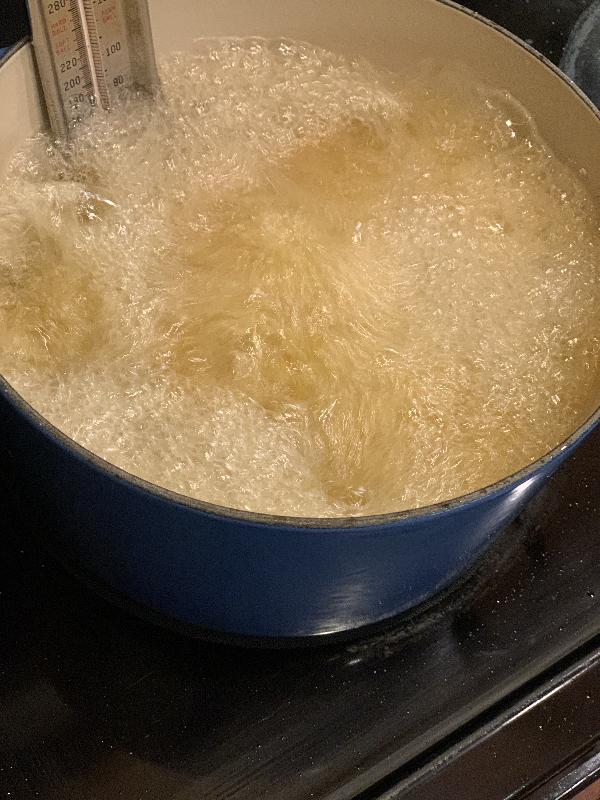
Step #9 It's into the fryer. You'll want to fry them until they are golden brown. You don't want to crowd your fryer, so I would suggest only doing one or two at a time. It shouldn't take long, 5-10 minutes, depending on the size of your birds. You'll want the internal temperature to be around 160 F. Quail can still appear pink even when it's done. You'll need to make sure that between batches that the temperature of the oil has time to recover to 350 degrees.
Step #10 Once it's done, remove it from the oil and place on a wire rack.
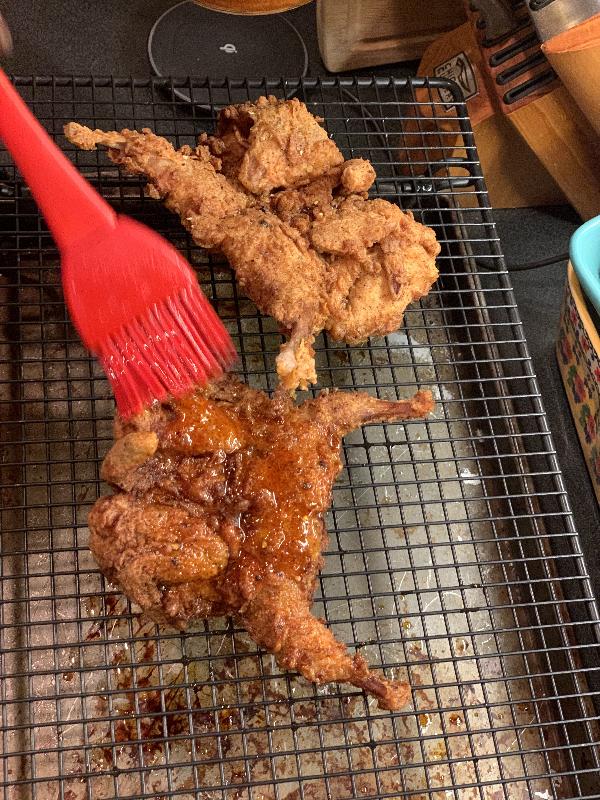
Step #11 When all the Quail are done frying, you'll want to reserve 1 cup of the hot oil. Combine 1/2 cup of the Nashville Hot Spice mixture with the hot oil, then brush it on to your Quail.
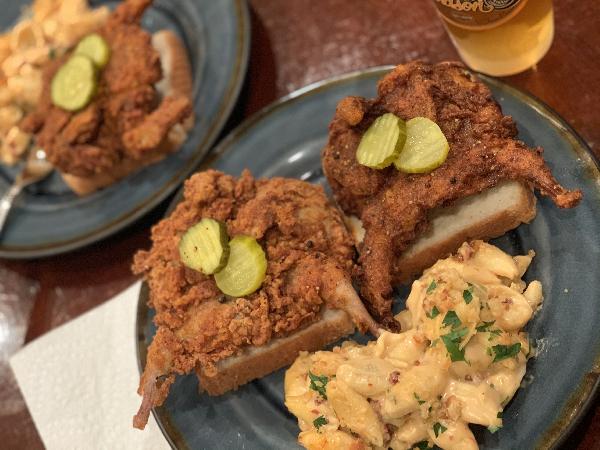
Step #12 Serve these Quail on a piece of Texas toast bread, garnished with 2 pickles on top, Mac and Cheese and an ice-cold beer.
Chipotle and Chile Mac and Cheese
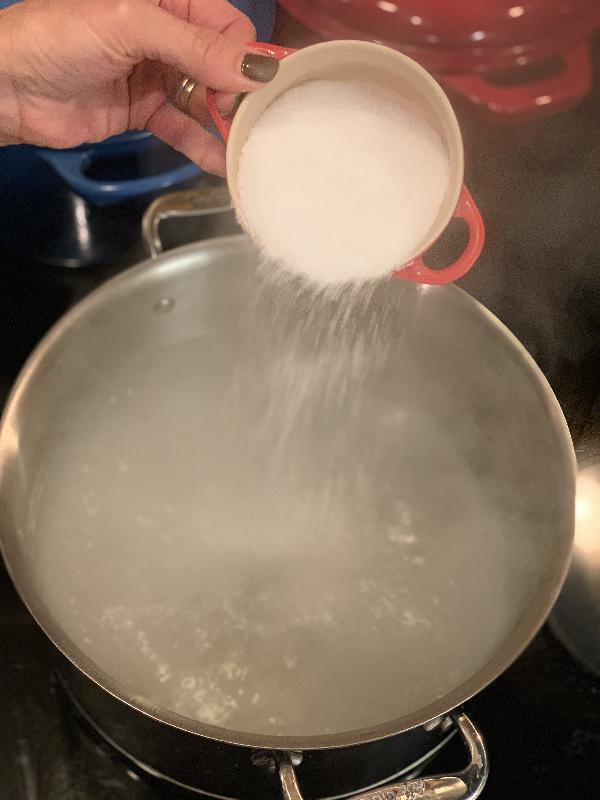
Step #1 Start your Mac and Cheese by boiling 4 quarts of water. Once the water reaches a rolling boil, add 1/4 cup to 1/2 cup of kosher salt to your pasta water, you want it to taste like sea water.

Step #2 Add 8 oz of shell pasta to the water and cook, uncovered, for about 8 minutes, stirring occasionally.
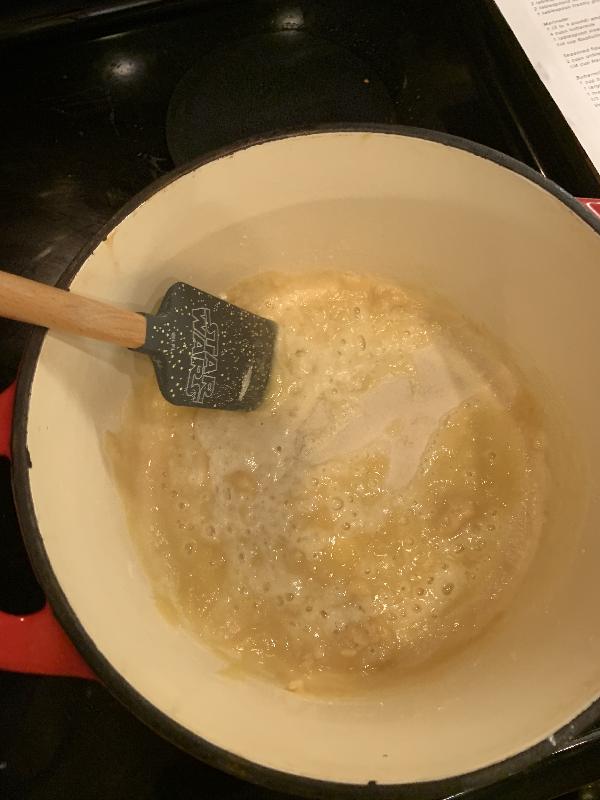
Step #3 While the pasta cooks, start your Bechamel cheese sauce for a Mac and Cheese. It should come together before the pasta finishes cooking. Start by melting 1/4 cup of unsalted butter in a small saucepan. Once the butter is melted, add 1/4 cup all-purpose flour and whisk until smooth.
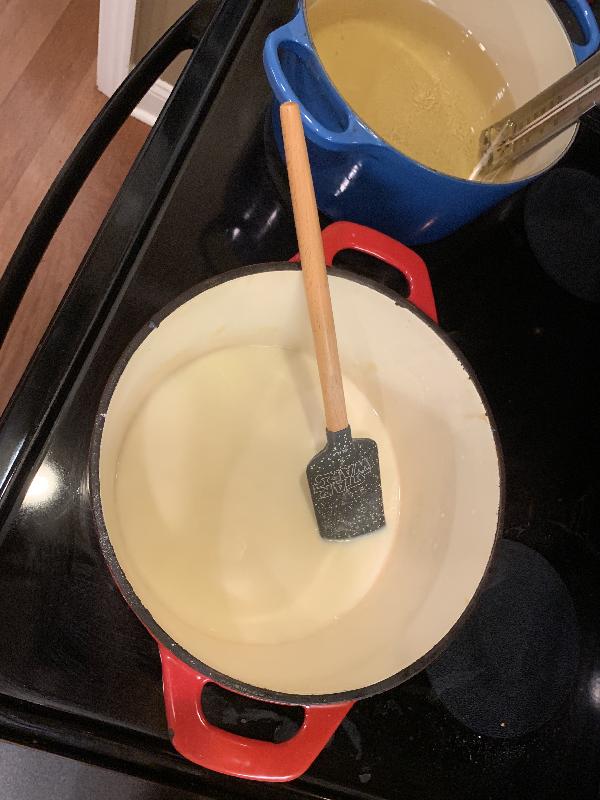
Step #4 Slowly add 1 1/2 cups of warm milk to the flour and butter mixture, whisking continuously. When you see your sauce start to thicken, you can add your Cayenne Pepper and Hot Sauce. Add additional salt to taste.
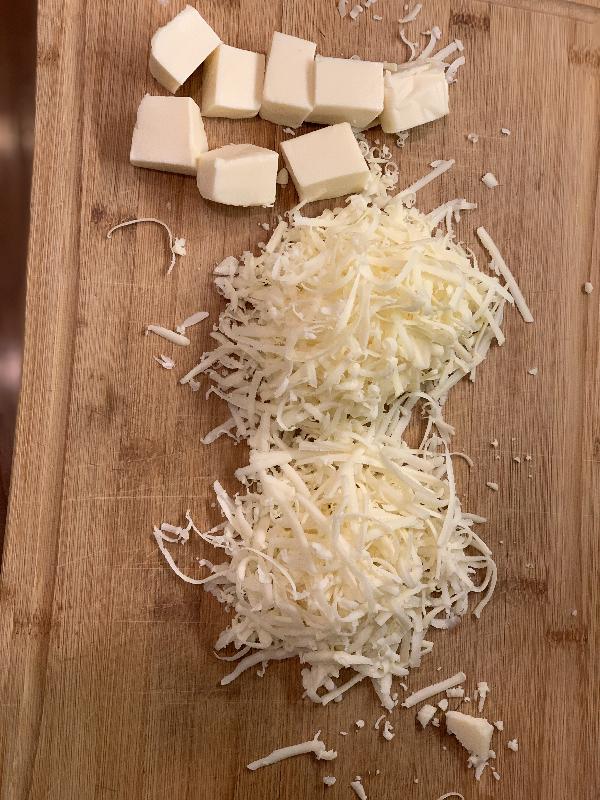
Step #5 You can now turn off the stove burner and add the Queso Cheese, the shredded Extra Sharp Cheddar Cheese and shredded Monterey Jack. Stirring to combine and melt.
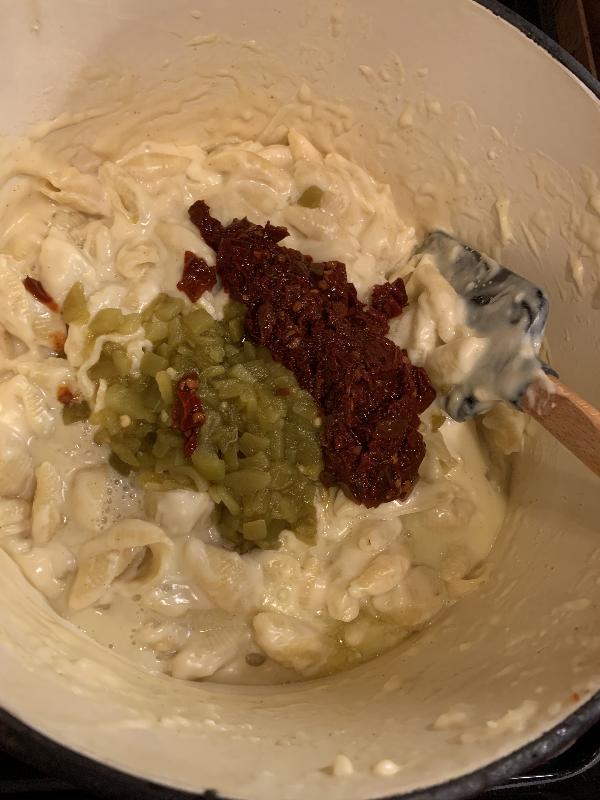
Step #6 Once your pasta is done, drain and combine with your Bechamel Cheese sauce. Chop the Chipotle Chiles up finely then add it and the Green Chiles to your Mac and Cheese.
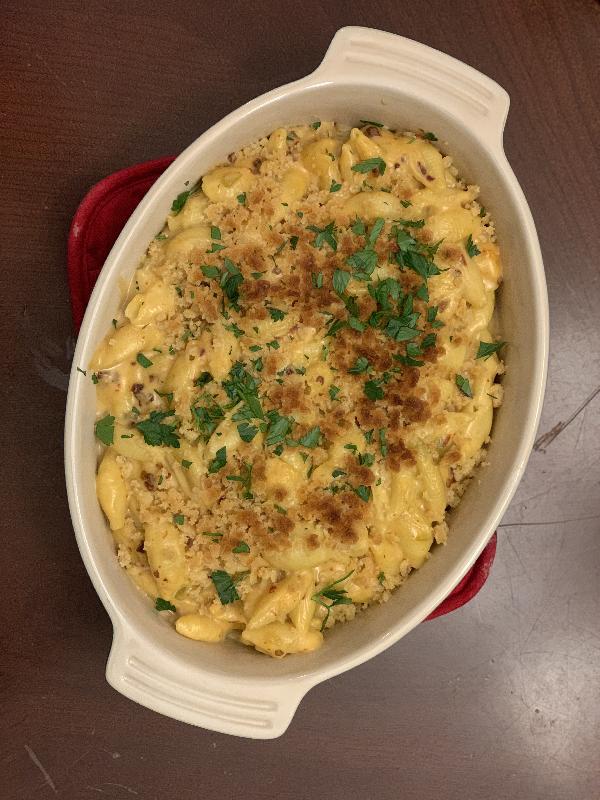
Step #7 Pour the whole mixture into a small casserole dish or shallow baking dish. Put your Ritz Crackers in a zip lock bag and crush them into fine particles. Melt 1/2 tbsp of butter and combine with your crushed Ritz Crackers. Sprinkle the mixture of top of your Mac and Cheese. Place your Mac and Cheese on the top shelf of your oven and turn your broiler on low. It'll only need to be in there a few minutes to form a nice golden crust. Once it comes out of the oven, garnish with chopped up fresh parsley.
Recipe Card
Nashville Hot Quail
Ingredients
Nashville Hot Quail
Buttermilk Brine
Nashville Hot Spice Mix
Dry Dredge
Wet Dredge
Hot Oil Glaze
Chipotle and Chile Mac and Cheese
Instructions
Chipotle and Chile Mac and Cheese
About the Author

Jeff Davis
Visit authors websiteYou may think cooking and recipes don’t have much to do with a website dedicated to hunting dogs ... but really, why do we hunt? Sure, we enjoy watching our dogs work in the field and being outdoors, but ultimately, hunting is about survival and feeding our families. We might as well try to do it well. I'm not a chef and definitely no food authority ... but I do like to eat and enjoy cooking. After searching for people willing to share their recipes on Gundog Central, without much success, I decided to try to do a few on my own, with my wife Tami's help. The recipes I share here are things I like to eat and have made here at home. I've tried to include step-by-step instructions with each meal describing exactly how I did it, but my method may not be best, if you decide to try a recipe posted here, please use whatever technique you think works best, I'm simply sharing how I did it. You'll see a lot of recipes where I've tried to make things from starch, when I could have just used store bought ingredients, simply because I wanted to learn how something was done. My goal is to continually update these recipes as I learn new things and techniques. These are my attempts at creating good, home cooked food, that I would like to eat! If I'm sharing it here, my family and I enjoyed it and I believe you will too.