Spicy Pheasant Shashuka
Go back to all recipes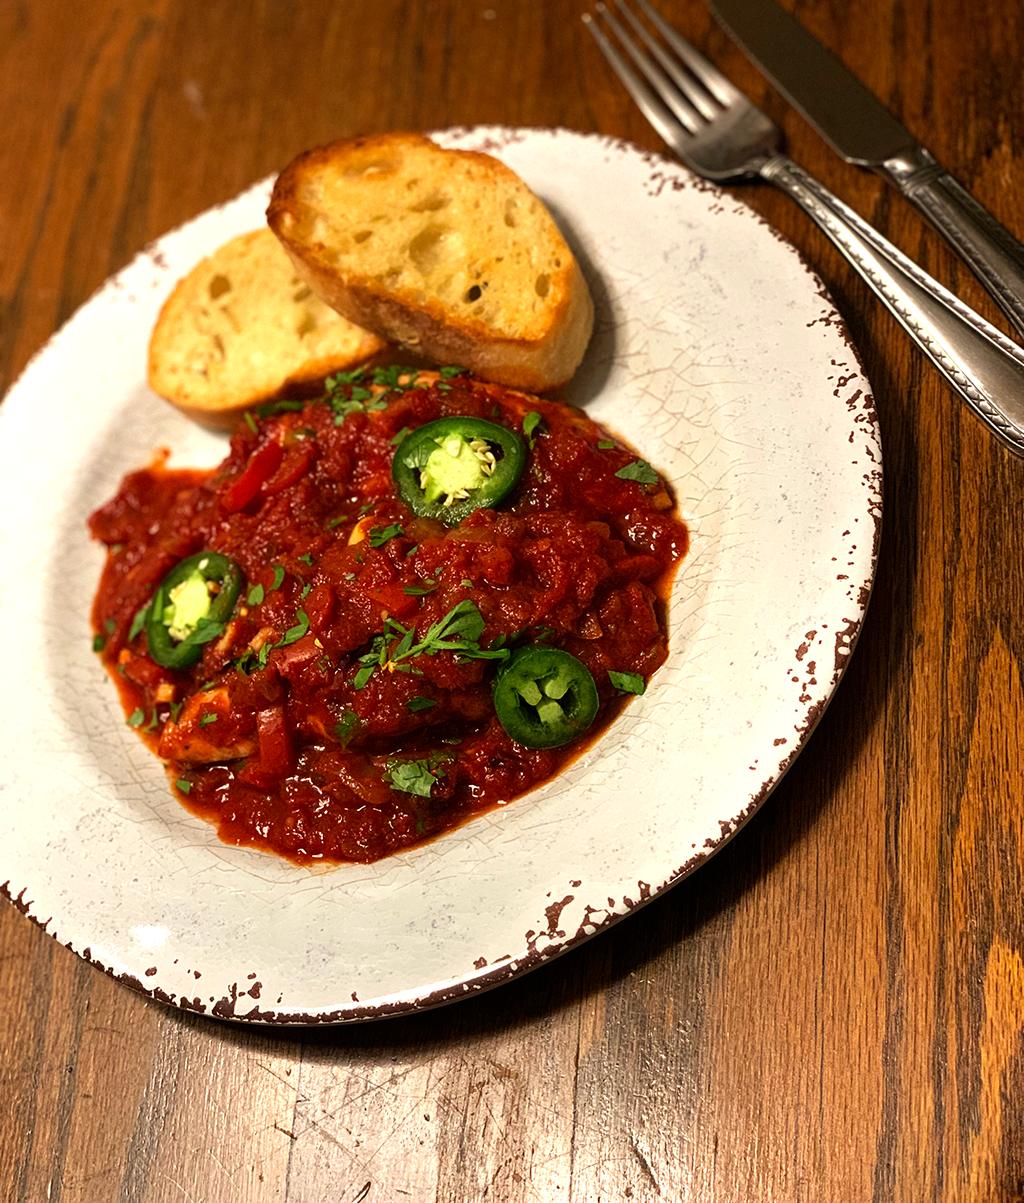
If anyone follows my wife and I on social media, you'll know that we like to cook ... and that we cook often. Most of the time around my house, the television is tuned to the Cooking Channel or some other cooking show. So it's only natural that we'd get some inspiration from watching these shows.
The other day we were watching TV when we saw this chef cooking Shashuka, only he wasn't cooking a traditional Shashuka, he had replaced the poached eggs with poached fish, Salmon, I think. His version looked super simple too, not a lot of ingredients. I believe they were showcasing dishes that they could keep under a certain budget, so needless to say, this can be made pretty cheap.
Weve made Shashuka a few times around the house for breakfast, it's a really tasty, tomatoey dish that's getting to be more popular. Watching the show inspired me to make my own version of this tasty dish, only I'm not sure that mine could be classified as Shashuka, since in my version Im replacing the poached egg with poached Pheasant, but that's what I'm calling it ... Spicy Pheasant Shashuka.
Shashuka is a middle eastern breakfast dish, sometimes called an Israelly hang over dish. It's basically just crushed tomatoes with some chopped garlic, onions and peppers, reduced down to make a sauce with some middle eastern or Mediterranean spices added. Little wells are created in the sauce that you crack an egg into, then bake in the oven until the eggs are done. It's usually served with some crusty white breed and garnished with parsley, green onions and / or feta.
While we didn't make our own crusty white bread with this recipe, I'll include a recipe for making your own, just in case you want to keep it authentic. I've made it a few times and it always turns out fantastic and it'd be amazing with the dish.
Ingredients
Spicy Pheasant Shashuka
Crusty White Breed
Instructions
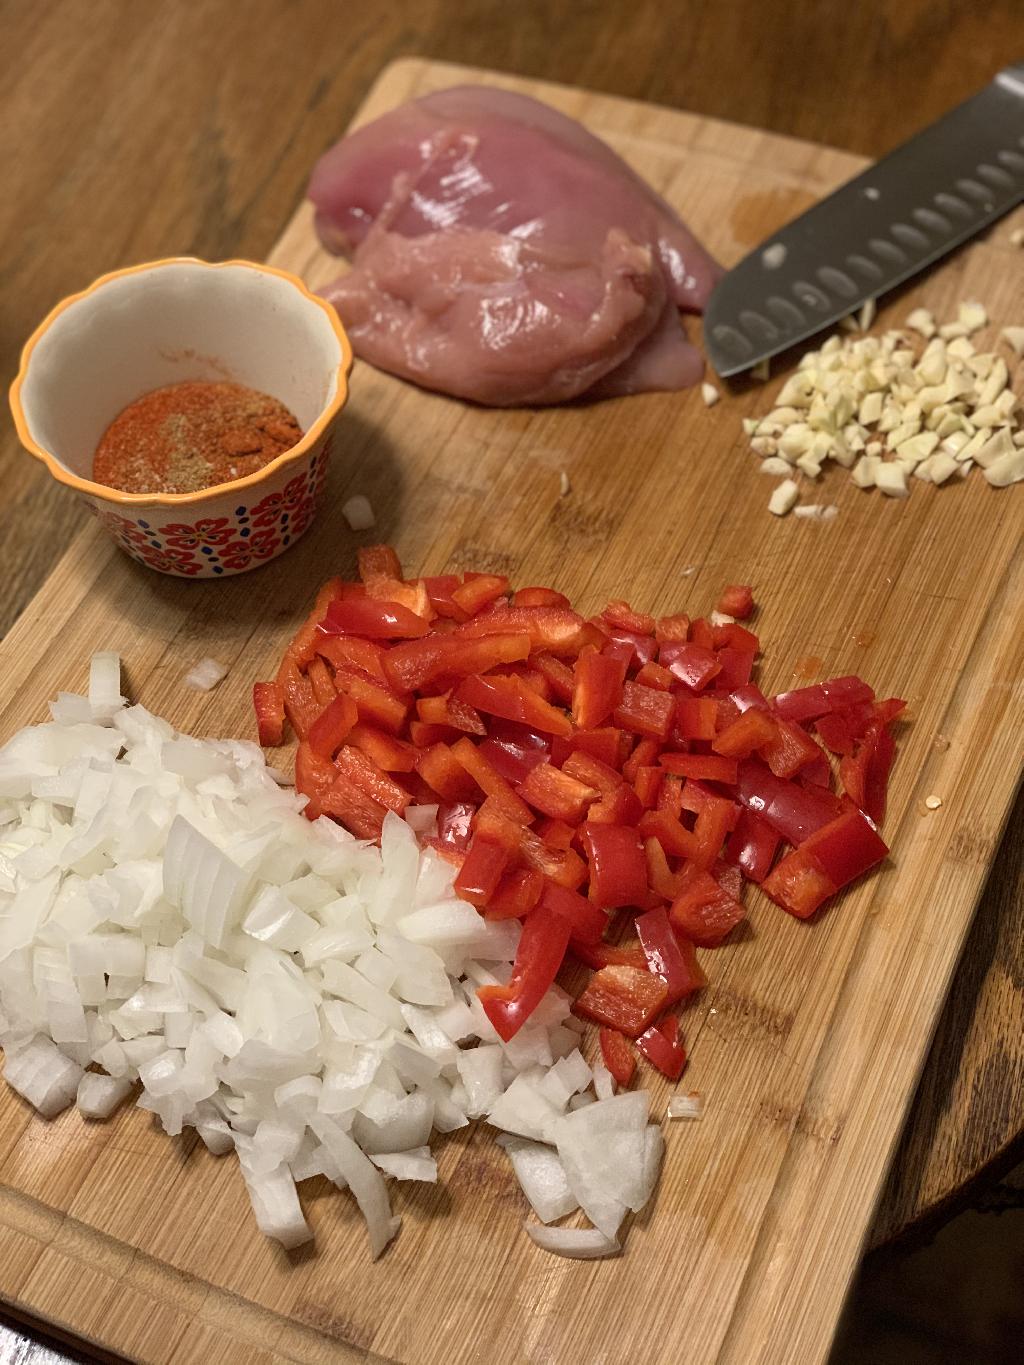
Step #1 Dice up your onion, bell pepper and garlic and set aside.
Step #2 Combine Paprika, Cumin, Chili Powder and Cayenne to make seasoning
Step #3 Heat a large skillet on medium heat. Add 1 tablespoon of butter to pan and let melt. Add a splash of olive oil.
Step #4 While pan is getting hot. Preheat the oven to 300 degrees
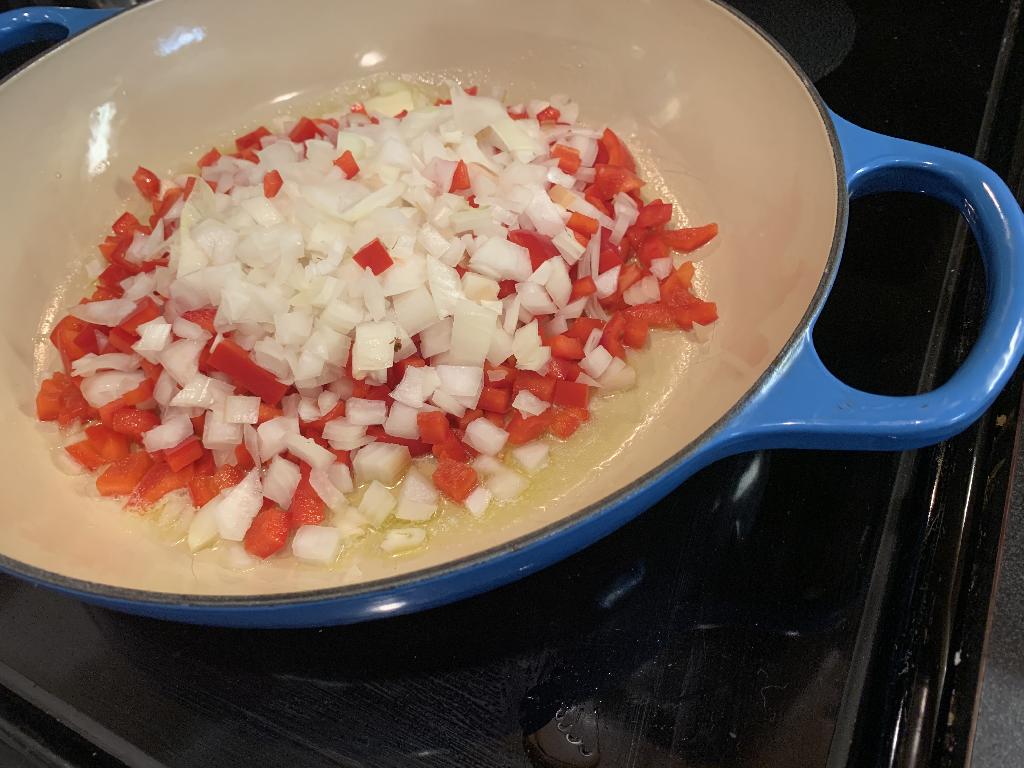
Step #5 Add diced onions and red peppers
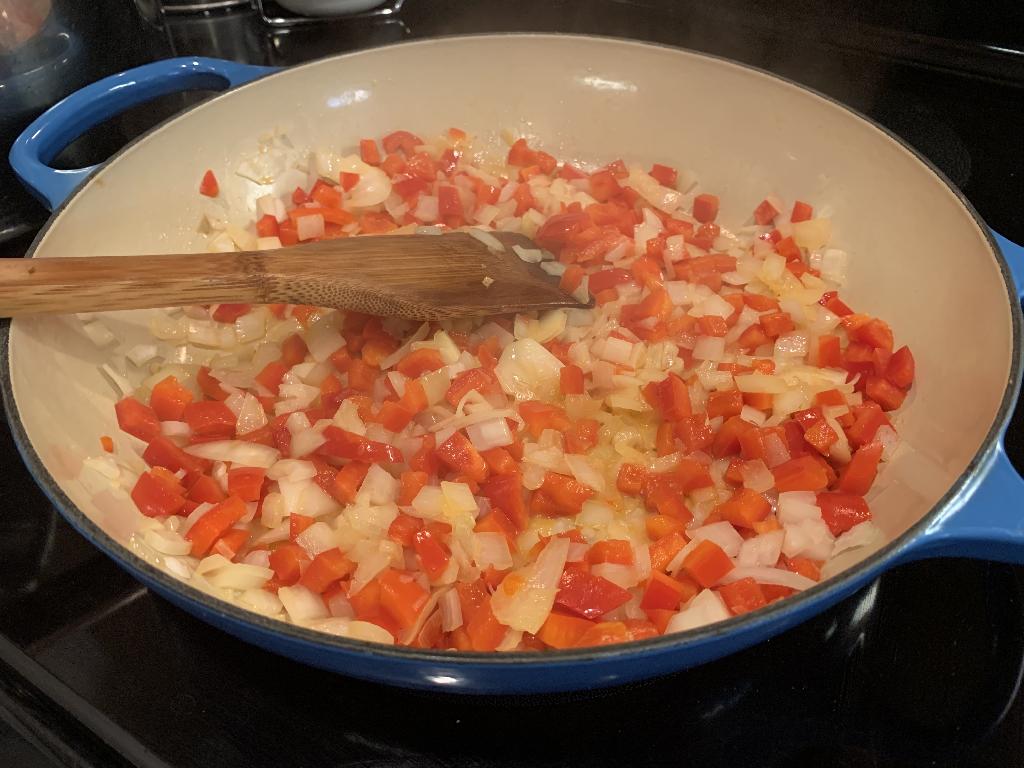
Step #6 Cook Red Peppers and Onions for about 5 minutes, until the onions are translucent.
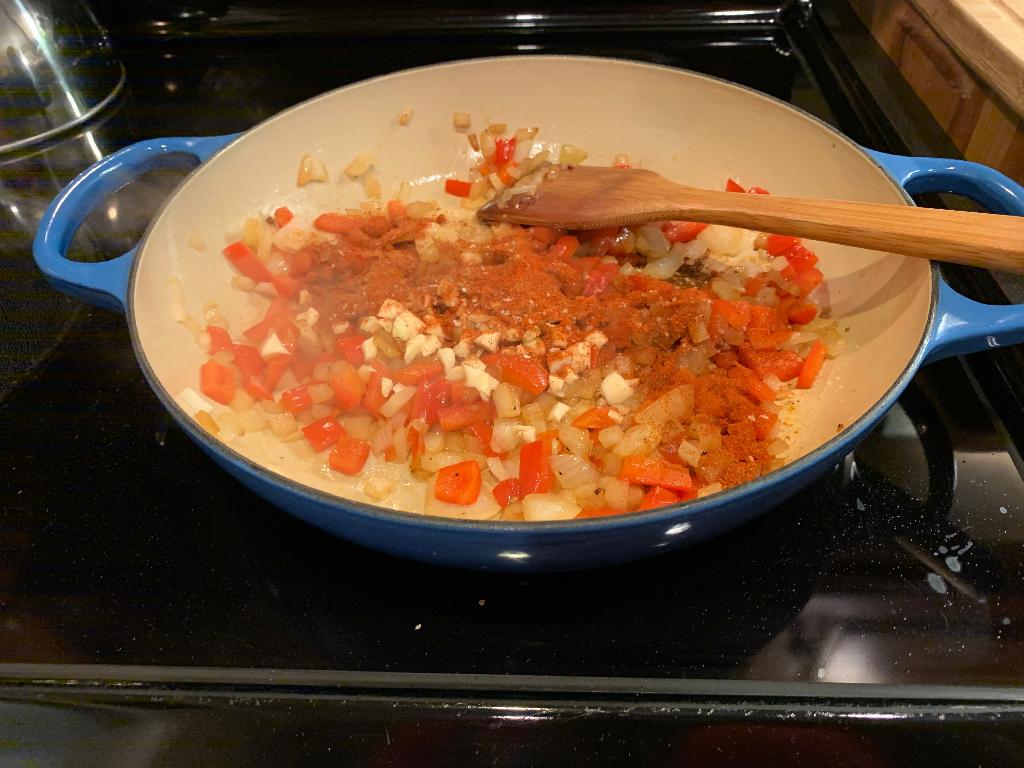
Step #7 Add Garlic to skillet and cook one additional minute, then add seasoning mixture, stirring to coat vegetables.
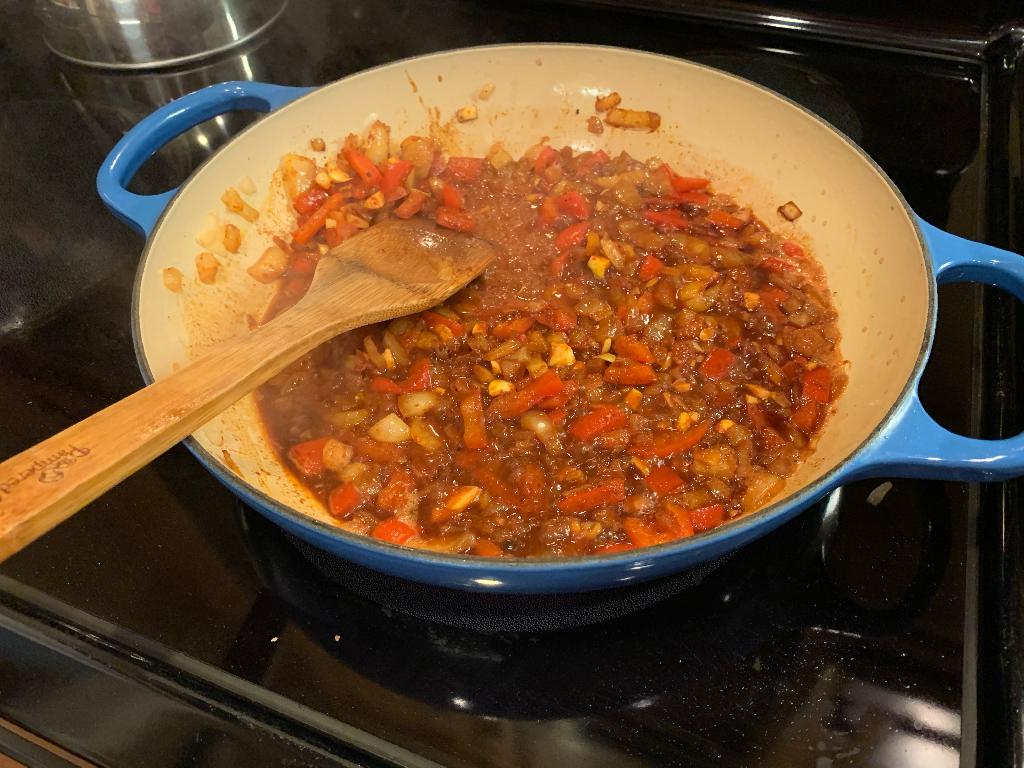
Step #8 Deglaze the pan with a splash of red wine. Allow alcohol to cook off and wine to reduce for a few minutes.
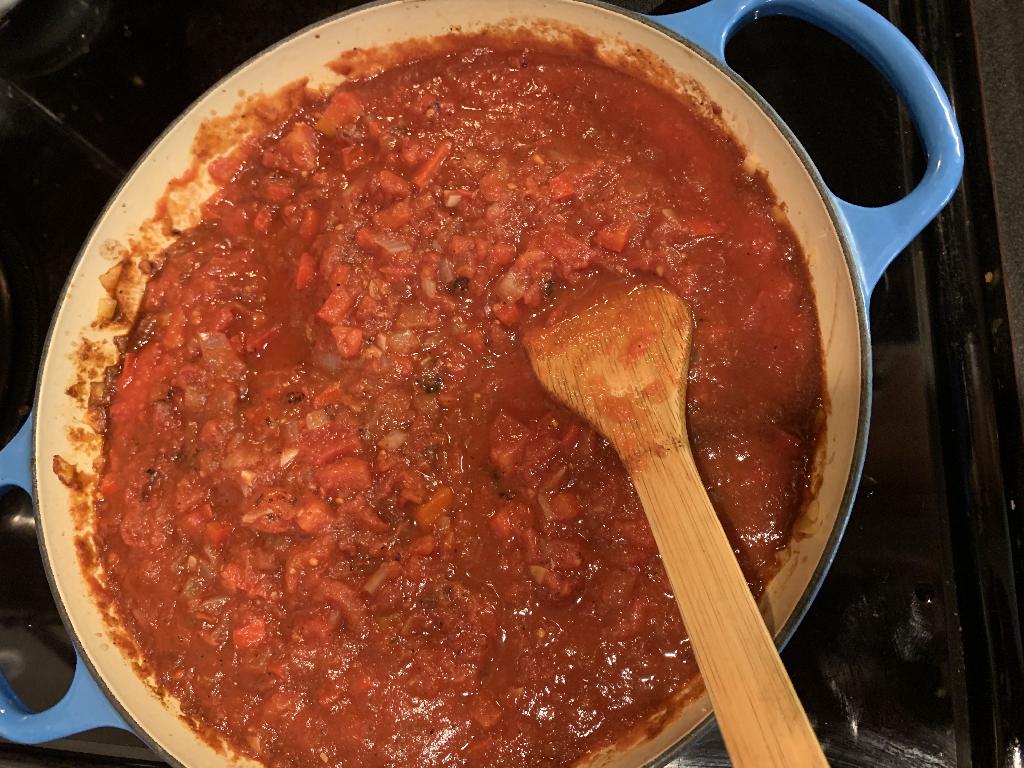
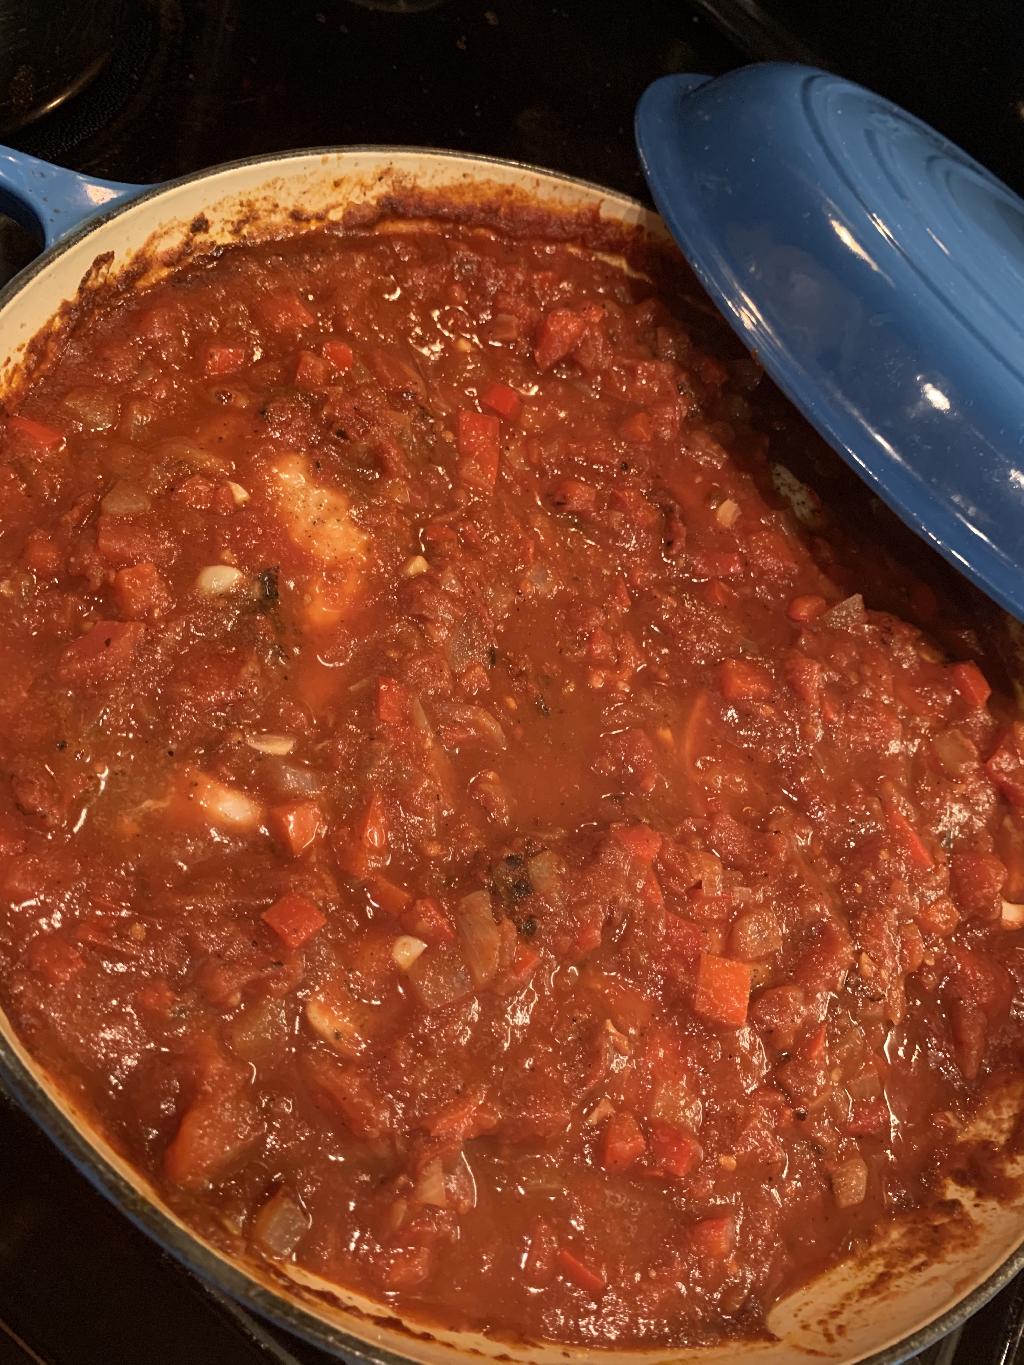
Step #9 Add can of crushed tomatoes and can of fire roasted tomatoes. Bring mixture to a simmer and allow to cook for 5 minutes.
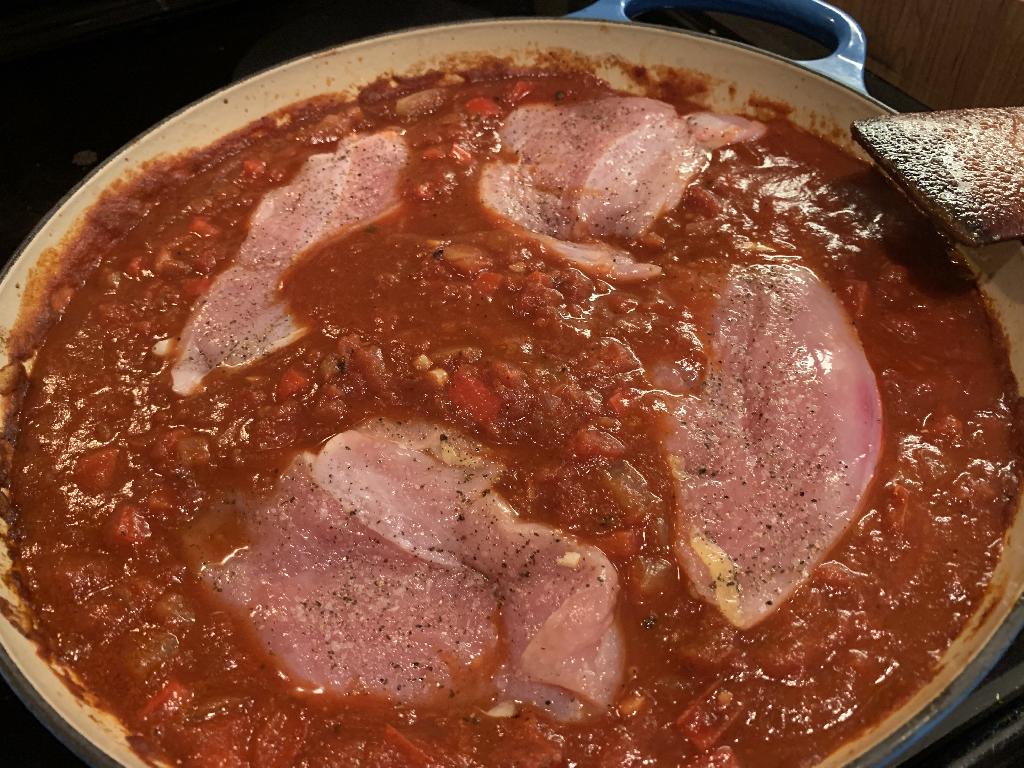
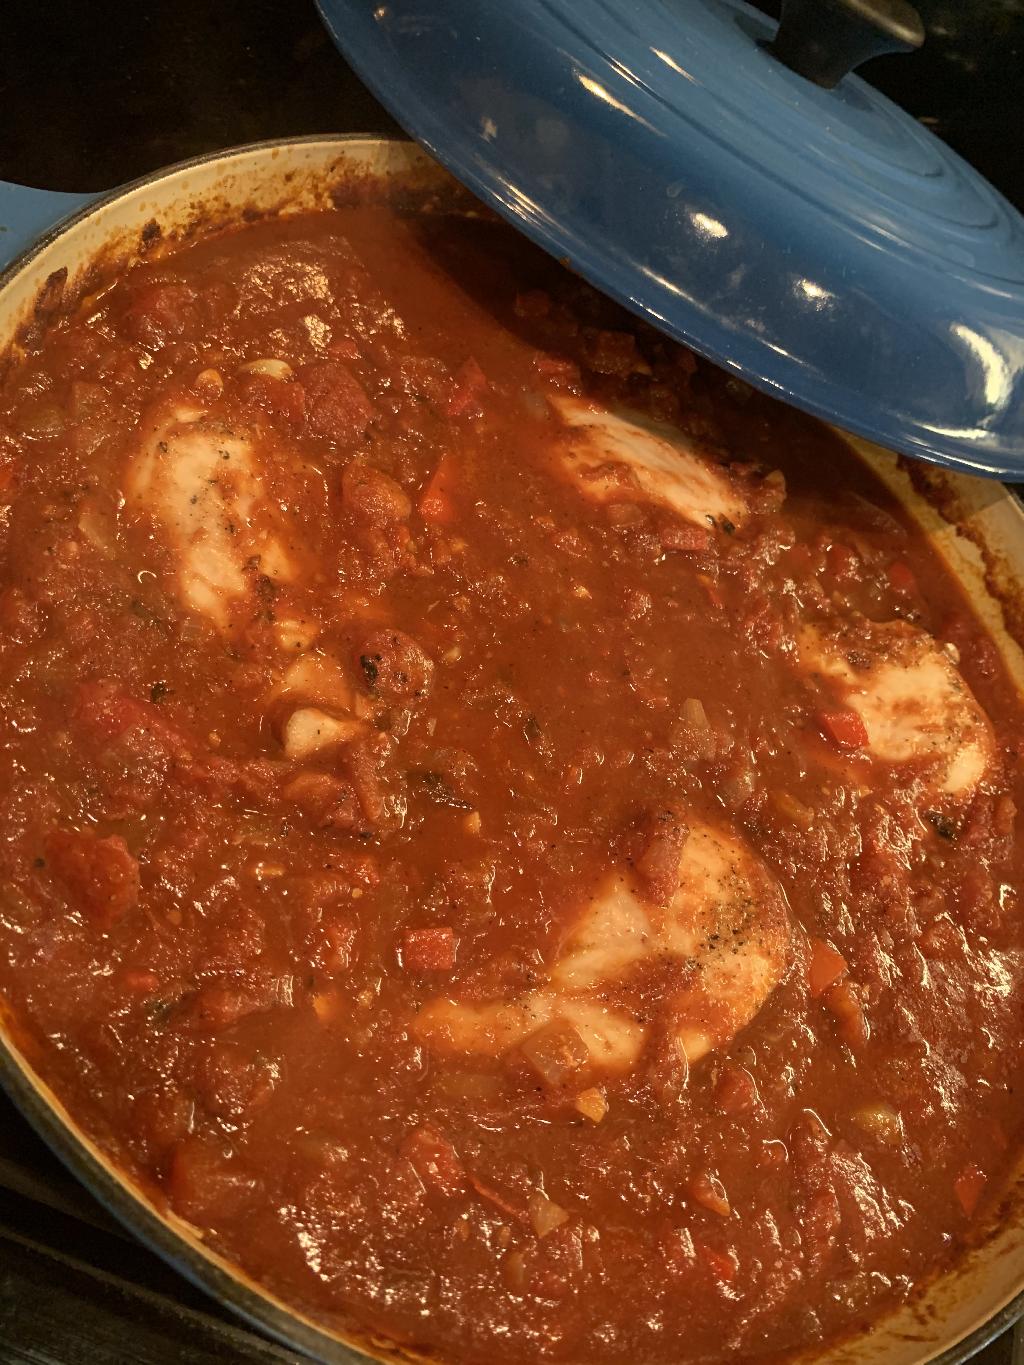
Step #10 Turn off the heat. With a spatula, create a well in the sauce and place one raw pheasant breast in each well.
Step #11 Completely cover the pheasant breast with the tomatoes sauce, place a lid on your skillet and then place in the oven for 20 minutes.
Step #12 Remove from oven and check temperature of the pheasant breast. It should be around 165 degrees. If its not, place back in the oven for a few minutes.
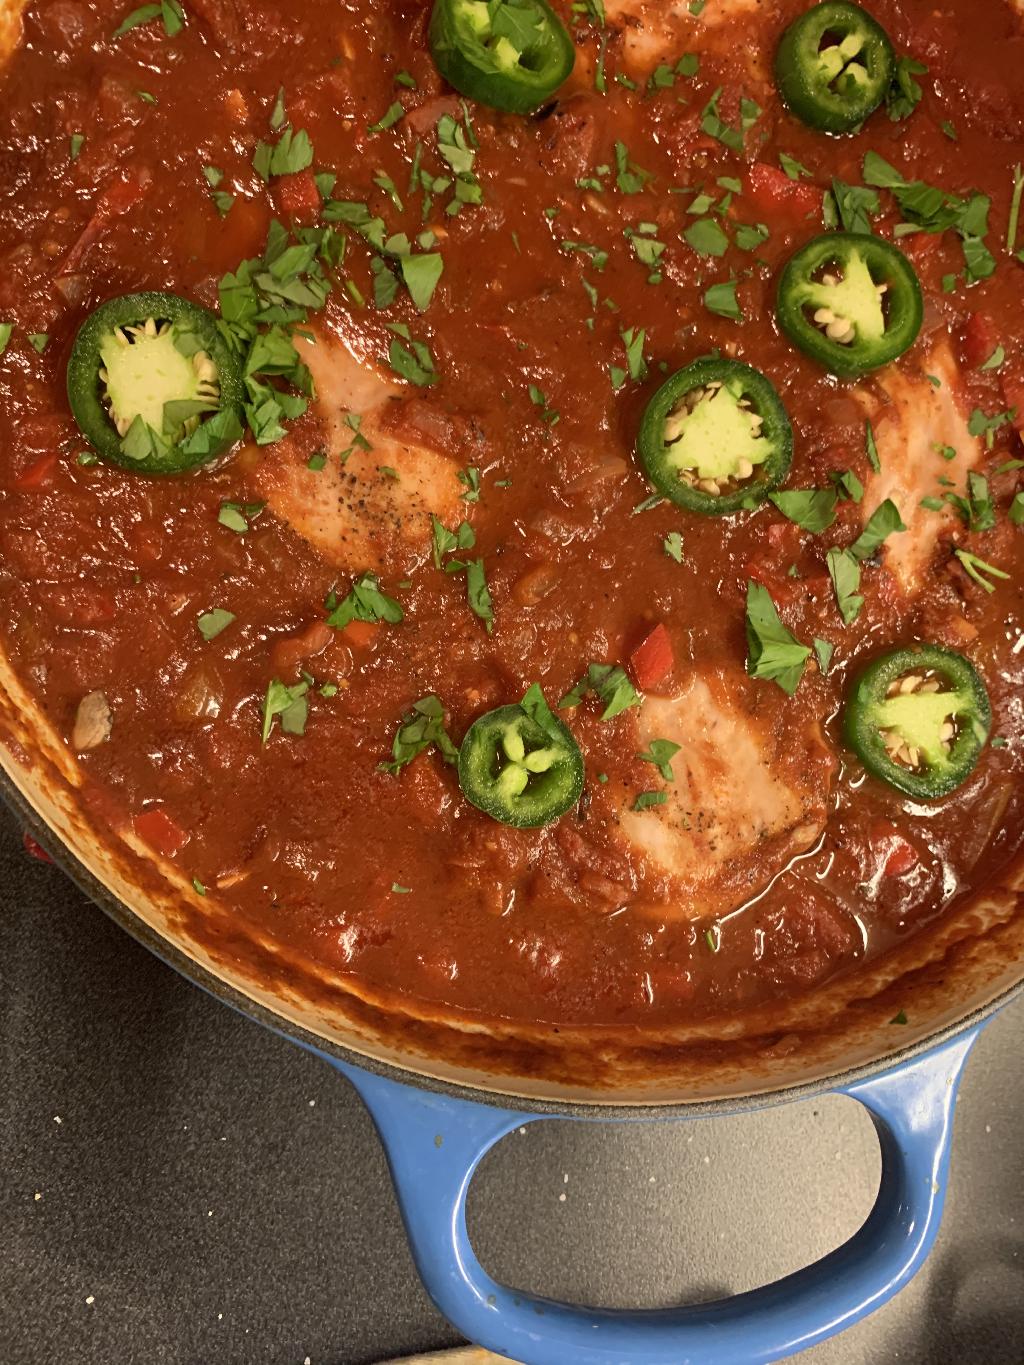
Step #13 Add sliced jalapenos and chopped parsley to garnish your dish.
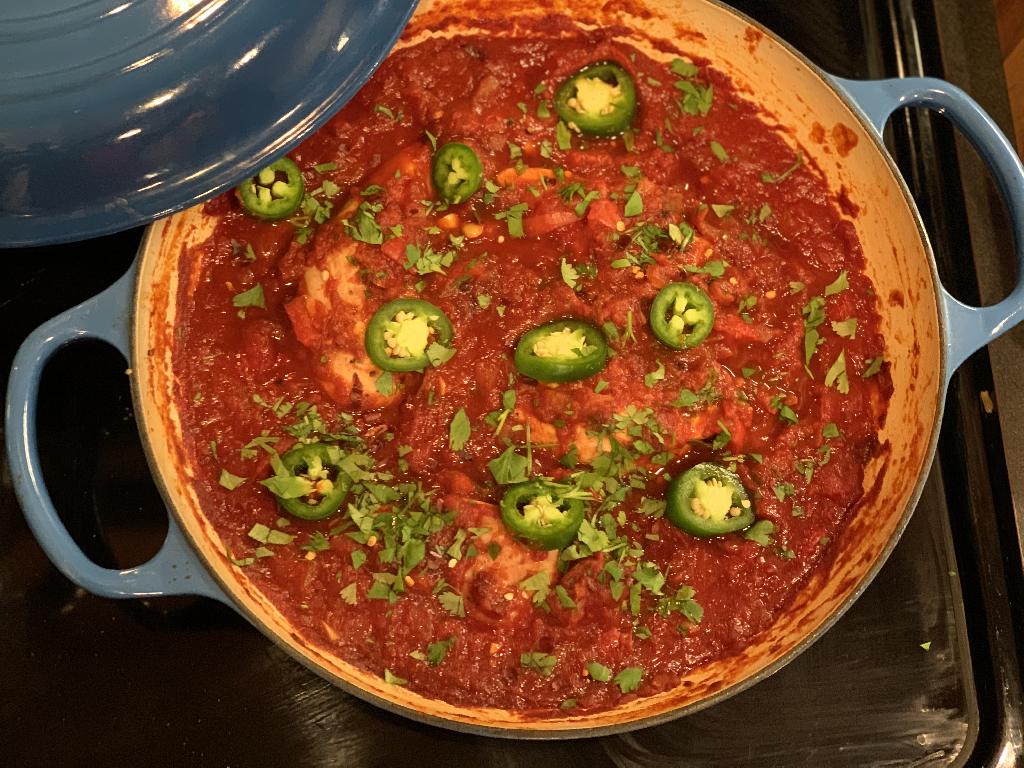
Step #14 This is best served with crusty white bread or white rice.
Crusty White Breed
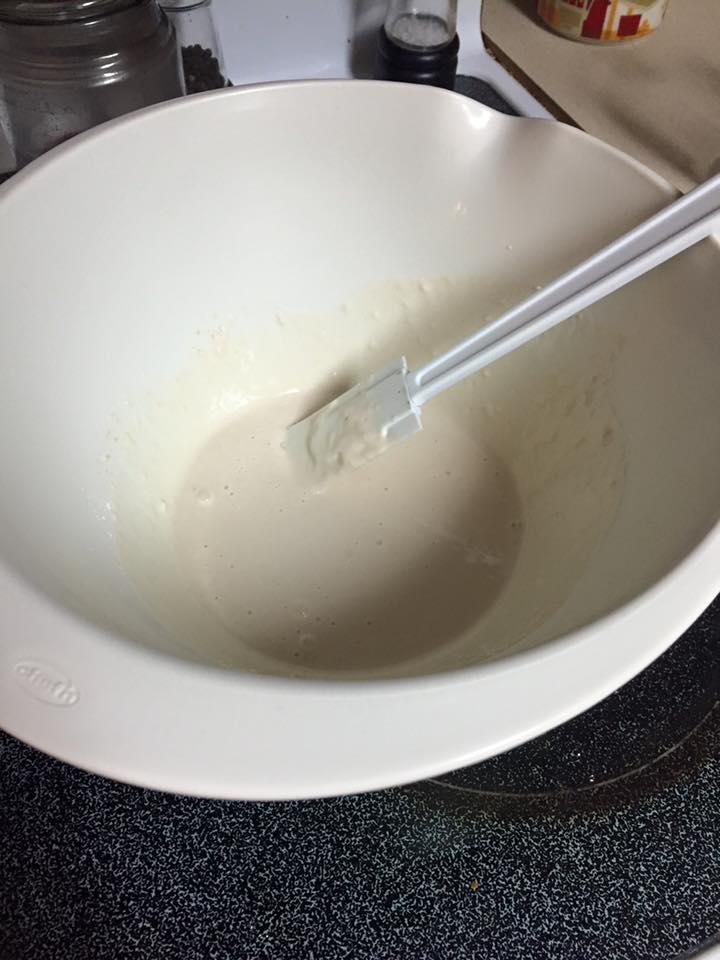
Step #1 First make a sponge by stirring together 1/2 cup of All-purpose flour, 1/2 cup of warm water, 1/2 tbsp of honey and a packet of active dry yeast in a large bowl. Make sure your water isn't over 100 degrees Fahrenheit. Once it's all incorporated, cover with warm towel and set aside for 30 minutes in a warm place.
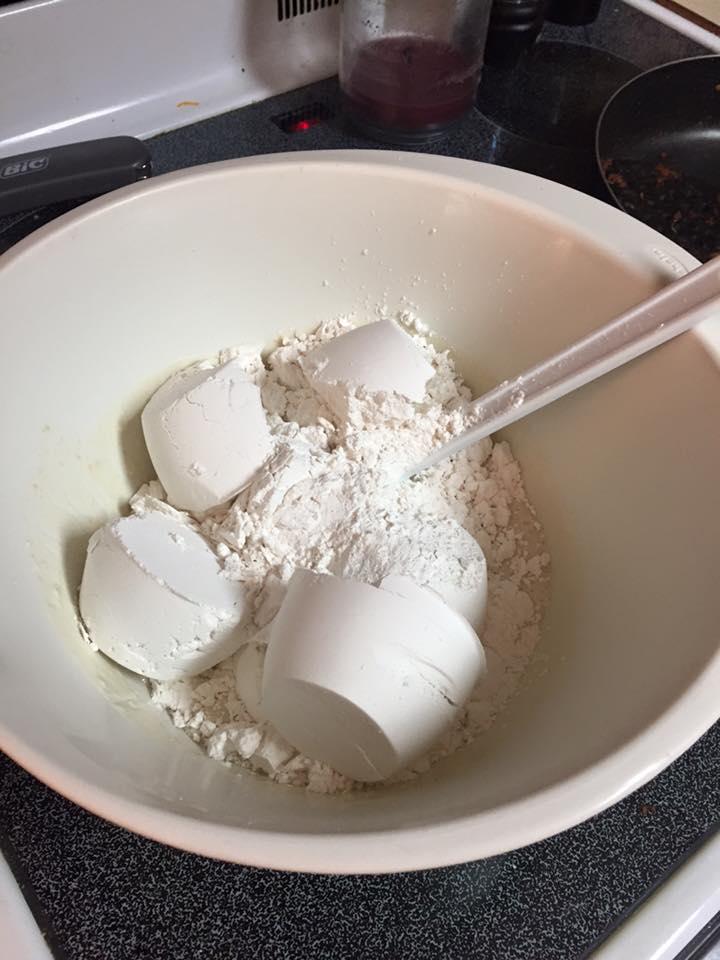
Step #2 After 30 minutes, you should have something the resembles a white sticky sponge in the bottom of your bowl. To that add 4 cups of flour, salt and 12 oz of warm water ( or one warm beer ) and incorporate all the ingredients together.
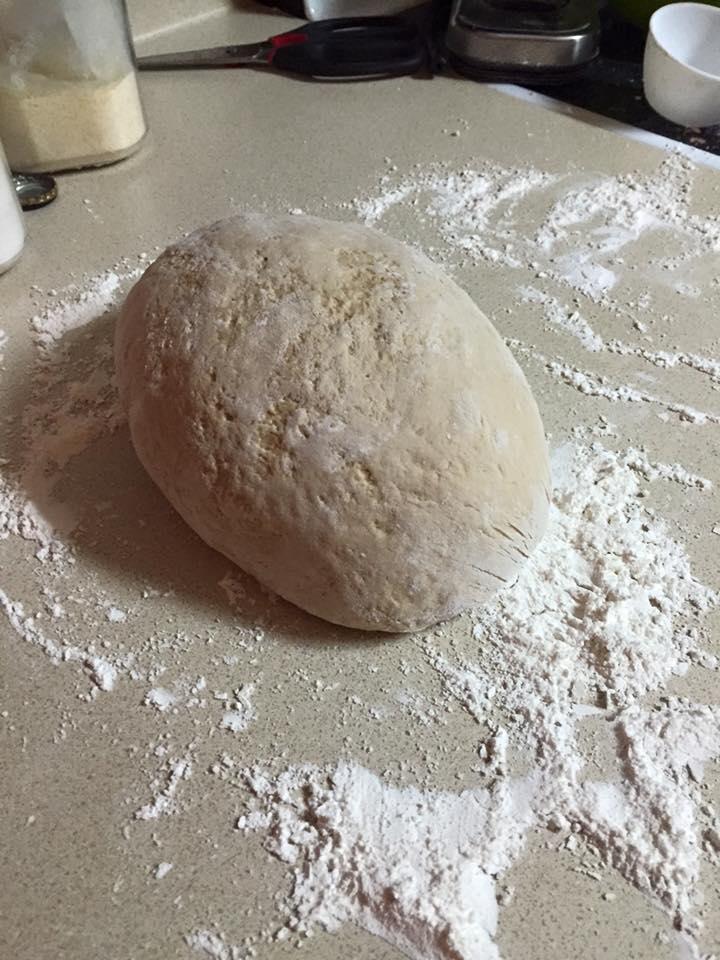
Step #3 Dust your countertop with some flour, then using a rubber spatula, scrape the dough out of the bowl onto the floured surface.
Step #4 Knead the dough for about 5 minutes. If it's too sticky add some additional flour. To test if it's done, press your finger into the dough, if it's bounces back, it's ready.
Step #5 Spray another large bowl with cooking oil and place your dough inside the bowl. I like to take a wet towel and microwave it for a few minutes until it's nice and hot, then I'll drape it over top of the bowl. Place the bowl in a warm place and let rise for 2 hours or until the dough has doubled in size.
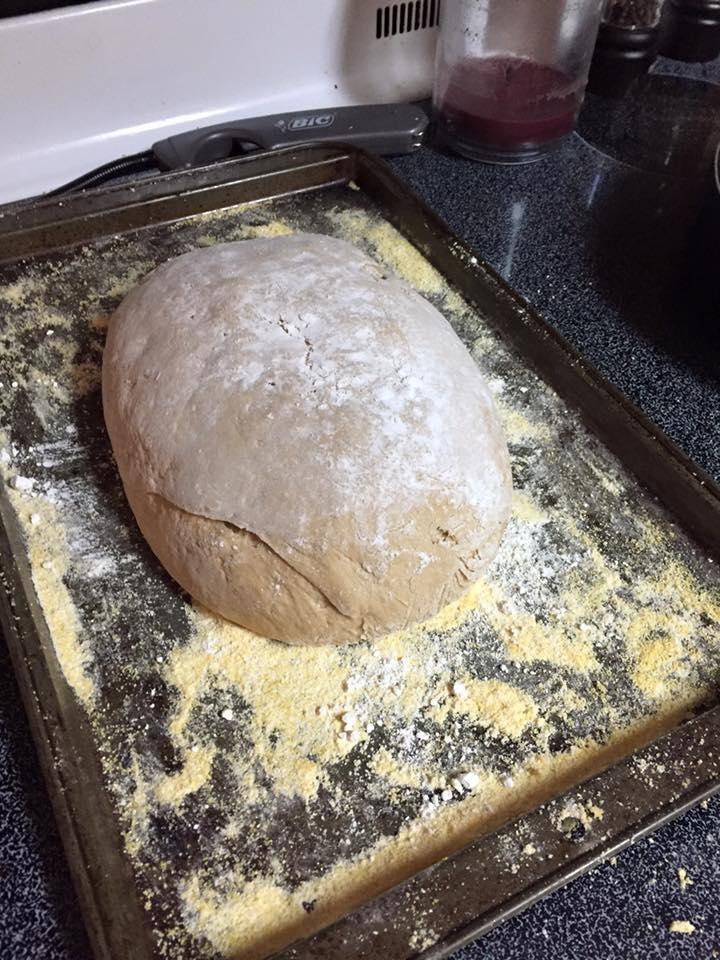
Step #6 Dust your counter top again with more flour. Dump the dough onto the floured surface and form the dough into a loaf shape. You can also divide the dough in half and make two small loaves if you like, but you'll need to adjust your cooking time. Dust a baking sheet with cornmeal and place your newly formed loaf on the sheet. Dust the top of the loaf with additional flour. Cover with a towel and let rise for 30-40 minutes.
Step #7 Preheat the oven to 450 degrees
Step #8 Once the oven is done preheating, take an oven proof bowl, I like to use a muffin tin, and fill it with water and place on the lower rack of the oven. The steam from the water will help form a new crust.
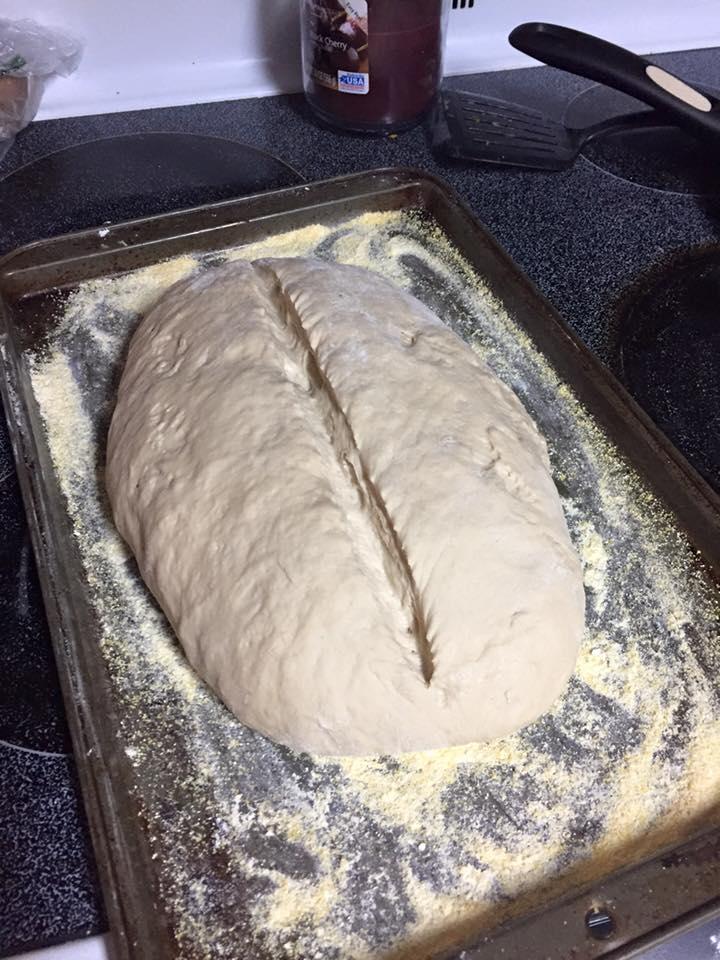
Step #9 Cut on slits across the top of your bread with a sharp knife.
Step #10 Place in the oven, on the top rack and bake for 30-35 minutes or until the loaf is golden brown.
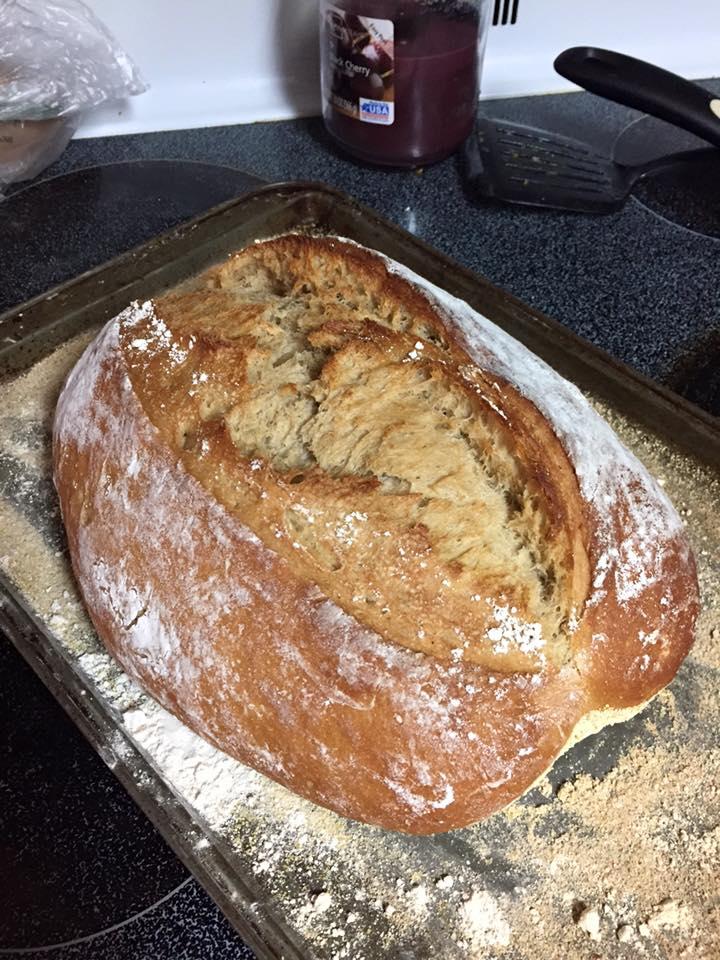
Step #11 Transfer to a cooling rack and let sit for 15-20 minutes.
Recipe Card
Spicy Pheasant Shashuka
Ingredients
Spicy Pheasant Shashuka
Crusty White Breed
Instructions
Crusty White Breed
About the Author

Jeff Davis
Visit authors websiteYou may think cooking and recipes don’t have much to do with a website dedicated to hunting dogs ... but really, why do we hunt? Sure, we enjoy watching our dogs work in the field and being outdoors, but ultimately, hunting is about survival and feeding our families. We might as well try to do it well. I'm not a chef and definitely no food authority ... but I do like to eat and enjoy cooking. After searching for people willing to share their recipes on Gundog Central, without much success, I decided to try to do a few on my own, with my wife Tami's help. The recipes I share here are things I like to eat and have made here at home. I've tried to include step-by-step instructions with each meal describing exactly how I did it, but my method may not be best, if you decide to try a recipe posted here, please use whatever technique you think works best, I'm simply sharing how I did it. You'll see a lot of recipes where I've tried to make things from starch, when I could have just used store bought ingredients, simply because I wanted to learn how something was done. My goal is to continually update these recipes as I learn new things and techniques. These are my attempts at creating good, home cooked food, that I would like to eat! If I'm sharing it here, my family and I enjoyed it and I believe you will too.